


Methods for Noise Reduction in Recording Studios
Methods for Noise Reduction in Recording Studios
Noise reduction in recording studios is crucial for ensuring high-quality audio, achieved through physical soundproofing, equipment optimization, and post-processing. Below are common and effective methods:
I. Environmental Soundproofing & Acoustic Treatment
-
Soundproof Construction
-
Soundproof Walls/Windows/Doors: Use double-pane glass, acoustic seals, and heavy-duty doors (e.g., fire-rated doors) to block external noise (traffic, voices, etc.).
-
Floating Floors/Ceilings: Reduce low-frequency vibrations (e.g., footfalls) with elastic structures like damping springs.
-
Room Isolation: Separate the recording space from equipment rooms to minimize noise from devices.
-
-
Acoustic Absorption Materials
-
Acoustic Foam/Polyester Panels: Cover walls and ceilings to absorb mid-high frequency noise (e.g., echoes, reflections).
-
Bass Traps: Place in corners to absorb standing waves and low-frequency rumble.
-
Acoustic Diffusers: Scatter sound waves evenly to reduce reverberation caused by focal points.
-
-
Sealing
-
Seal gaps in walls, cable holes, and door/window edges with acoustic caulk to prevent sound leaks.
-
II. Equipment Optimization
-
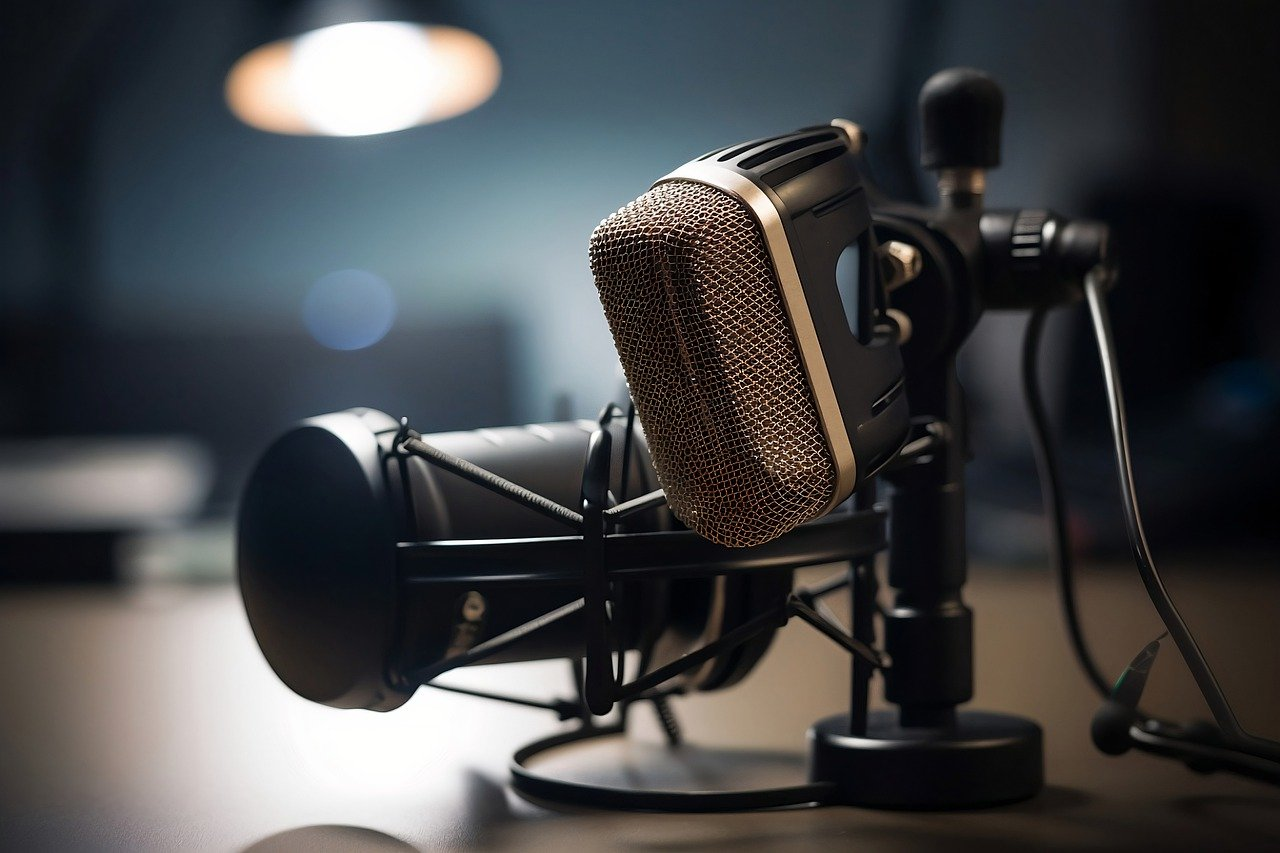
Directional Microphones
-
Use cardioid or supercardioid mics (e.g., dynamic mics like the SM7B, condenser mics like the NT1-A) to focus on frontal sound sources and reject rear/side noise.
-
-
Pop Filters & Windshields
-
Pop Filters: Mitigate plosive sounds (e.g., "p" and "b" sounds).
-
Foam Windshields: Reduce wind noise during outdoor recordings.
-
-
Shock Mounts
-
Suspend microphones on shock-absorbing mounts to isolate vibrations (e.g., typing, footsteps).
-
-
High-Quality Audio Interfaces & Preamps
-
Use low-noise interfaces (e.g., Apollo, Focusrite) and preamps to minimize circuit noise.
-
III. Recording Techniques
-
Control Noise Sources
-
Turn off AC units, fans, and unplug unnecessary electronics to eliminate hum.
-
Record during quiet hours (e.g., nighttime).
-
-
Mic Distance Management
-
Maintain 15-30cm between the mouth and mic to reduce breath sounds and mouth noise.
-
-
Isolate Noisy Equipment
-
Move computers/hard drives outside the studio or use soundproof enclosures.
-
IV. Post-Processing Software
-
Noise Reduction Tools
-
Spectral Denoising (e.g., iZotope RX, Audition): Remove noise by sampling and eliminating matching frequencies.
-
Noise Gates: Mute background noise below a set threshold during silent intervals.
-
Manual Editing: Delete noise sections in silent parts.
-
-
EQ Adjustments
-
Cut low-frequency hum (below 60Hz) or high-frequency hiss (above 8kHz).
-
V. Low-Cost/Temporary Solutions
-
DIY Soundproofing: Cover walls with thick blankets or build a makeshift booth.
-
Portable Isolation Shields: Use mic isolation shields (e.g., Kaotica Eyeball).
-
Free Software: Tools like Audacity’s noise reduction feature.
Summary: Tailored Approaches
-
Professional Studios: Full acoustic treatment + high-end gear + post-processing.
-
Home Studios: Directional mics + basic soundproofing + software tools.
-
Mobile/Temporary Setups: Portable isolation + post-processing.
Combining these methods ensures minimal noise interference and maximizes recording clarity.